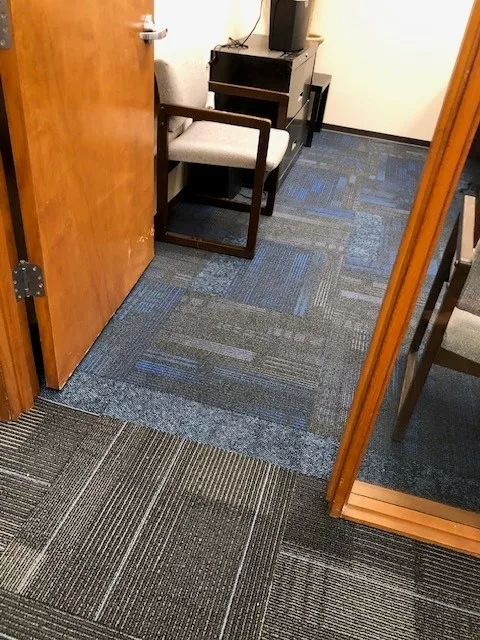
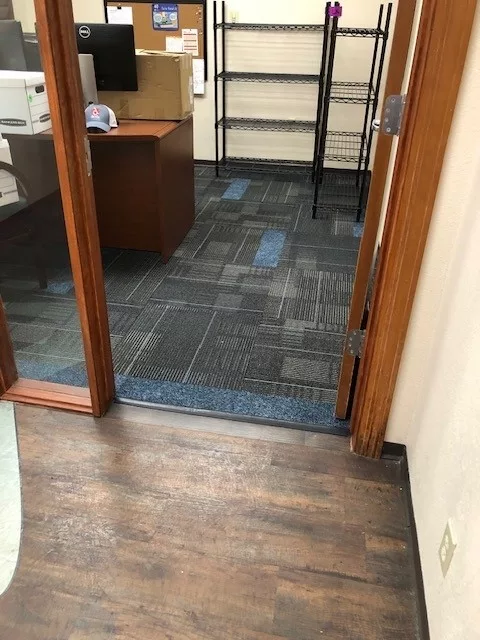
Choosing the right carpet tile and a skilled installation crew is just the beginning of achieving a beautiful and long-lasting carpet tile solution. Continental Flooring has recently replaced over 700 square yards of carpet tile in our offices, and we would like to share what helped make the project run smoothly and how we prepared for our renovation.
Proper preparation of your space is key to ensure a smooth and efficient installation. Here are the essential steps to prepare your facility for carpet tile installation, from pre-installation planning to post-installation care.
Before the Installation
- Post-Construction Timing: Schedule the carpet tile installation after any major construction work, such as drywalling or wall demolition. These processes can create a messy environment and pose a high risk of damaging your tiles. Completing other construction projects beforehand ensures a clean slate for your flooring.
- New Permanent Features: If you plan to add walls or any other permanent structures, install them before carpet tile installation. Carpet tiles can be cut to fit around such structures seamlessly, providing a polished look.
- Modular Walls and Furniture: It’s best to install carpet tile before adding modular walls or furniture. These elements are designed to sit on top of your carpet, offering flexibility in office layout. Installing carpet tile first avoids the hassle of adjusting tiles under these modular components. If you already have modular furnishings, don’t worry! There are lift systems to easily lift the furniture and replace carpet tiles without having to dismantle most furnishings.
- Workstations and Large Furniture: Save the installation of workstations and other significant pieces of furniture for after the carpet tiling is complete. This way, you can freely move and arrange your furniture without disrupting the freshly installed carpet tiles.
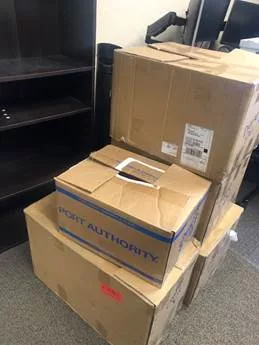
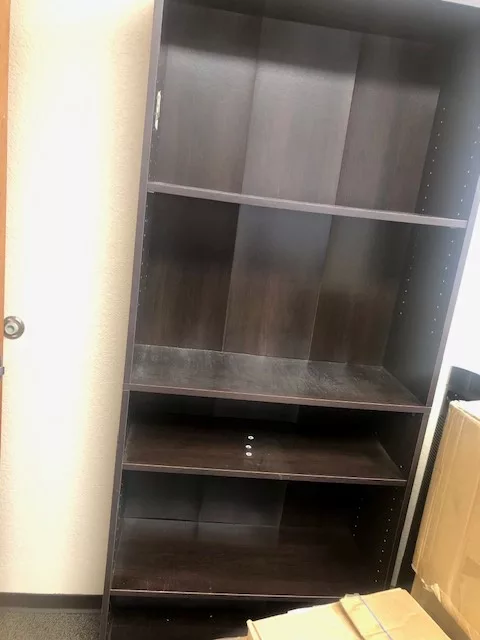
- Clear the Space: The first step in preparing for professional carpet tile installation is to clear your office space of all furniture and objects. Ensure that your installers have a clear path to work, free from any obstructions. If possible, remove wall art and decorative items to facilitate the process. Some crews offer the moving of furniture as part of their services. Check with them to see what objects need to be moved. For example, just boxing items from a surface may be enough assistance.
- HVAC and Climate Control: Maintain a stable indoor temperature and humidity level. Carpet tiles perform best in a controlled environment, so make sure your HVAC system is functioning correctly. Extreme fluctuations in temperature and humidity can affect the adhesive and installation process.
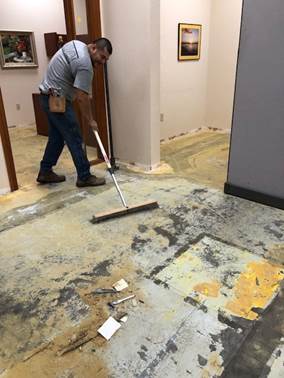
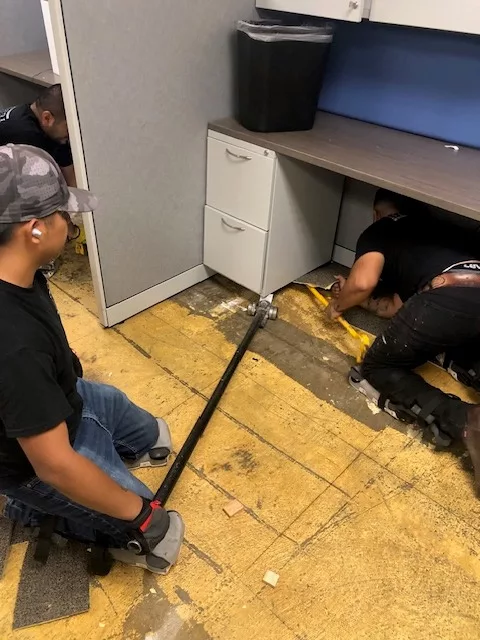
- Floor Inspection: Ensure that the subfloor is clean, dry, level, and structurally sound. Any imperfections or damage should be addressed before installation. If needed, our team can assist with subfloor preparation.
- Acclimation: Allow the carpet tile to acclimate to the installation environment for at least 24 hours. This helps prevent expansion or contraction after installation.
During the Installation
- Supervision: Designate a point of contact within your office to work with the installation crew. This person can address any questions or concerns and ensure a smooth workflow.
- Safety and Access: Maintain a safe environment during installation by cordoning off the work area. Use warning signs and barriers to prevent accidents. Additionally, ensure easy access to the building and a designated parking area for the installation team.
After the Installation
- Curing Time: Allow sufficient time for the adhesive to cure before resuming regular office activities. The curing period typically ranges from 24 to 72 hours, depending on environmental conditions and the adhesive used.
- Regular Maintenance: Implement a maintenance schedule to keep your carpet tile looking its best. Vacuum daily (if possible), address spills promptly and schedule professional cleanings as needed.
- Warranty and Care Guidelines: Familiarize yourself with the manufacturer’s warranty and care instructions for your specific carpet tiles. Adhering to these guidelines will help maintain the warranty and extend the lifespan of your flooring.
- Communication: Keep open lines of communication with your Continental Flooring team for any post-installation inquiries or issues. Promptly addressing any concerns can prevent further damage and ensure your carpet tile’s longevity.
Preparing your space for carpet tile installation involves planning. By following these guidelines and working closely with your Continental team, you can ensure a successful installation that adds beauty and durability to your environment for years to come. Don’t hesitate to reach out to our team if you have any questions or need further assistance. We’re here to help you every step of the way.
Please feel free to contact us for product advice, free samples, assistance in specifications, or to place an order. We welcome contract purchases, formal bids, RFQs or Open Market requirements. One call will do it all!
Contact Us Today!
Call Toll Free 800-825-1221 | Request a Quote
Email: info@continentalflooring.com
Our Segments
- Federal, State, County, and Municipalities
- Healthcare
- Schools, Colleges, and Universities
- Public Housing Authority (PHA)
Continental Flooring has been servicing government agencies since 1979 and continues to be a top flooring and ceiling provider in the public sector.